
On April 22, 2020, I filmed the Lyrid Meteor Shower. The following is how I captured some of the best astrophotography shots I’ve ever taken. The meteors are caused as the earth moves through the dust of long-period comet, C/1861 Gt Thatcher.
Perseid Meteor Shower 2016-08-11 (Click to Expand)
This was only my second time trying to photograph a meteor shower. The first one was the Perseid Meteor Shower on August 08, 2016, nearly 4 years ago. (See right)
The thing to know about photographing meteor showers is they are an exercise in patience. You read articles that say something like ‘50 meteors an hour’ and think, ‘that should be easy to get some photos’, but the truth is that the meteors can be scattered across the whole sky and you have a very narrow field of view with your lens.
Source of the Lyrid Meteor Shower
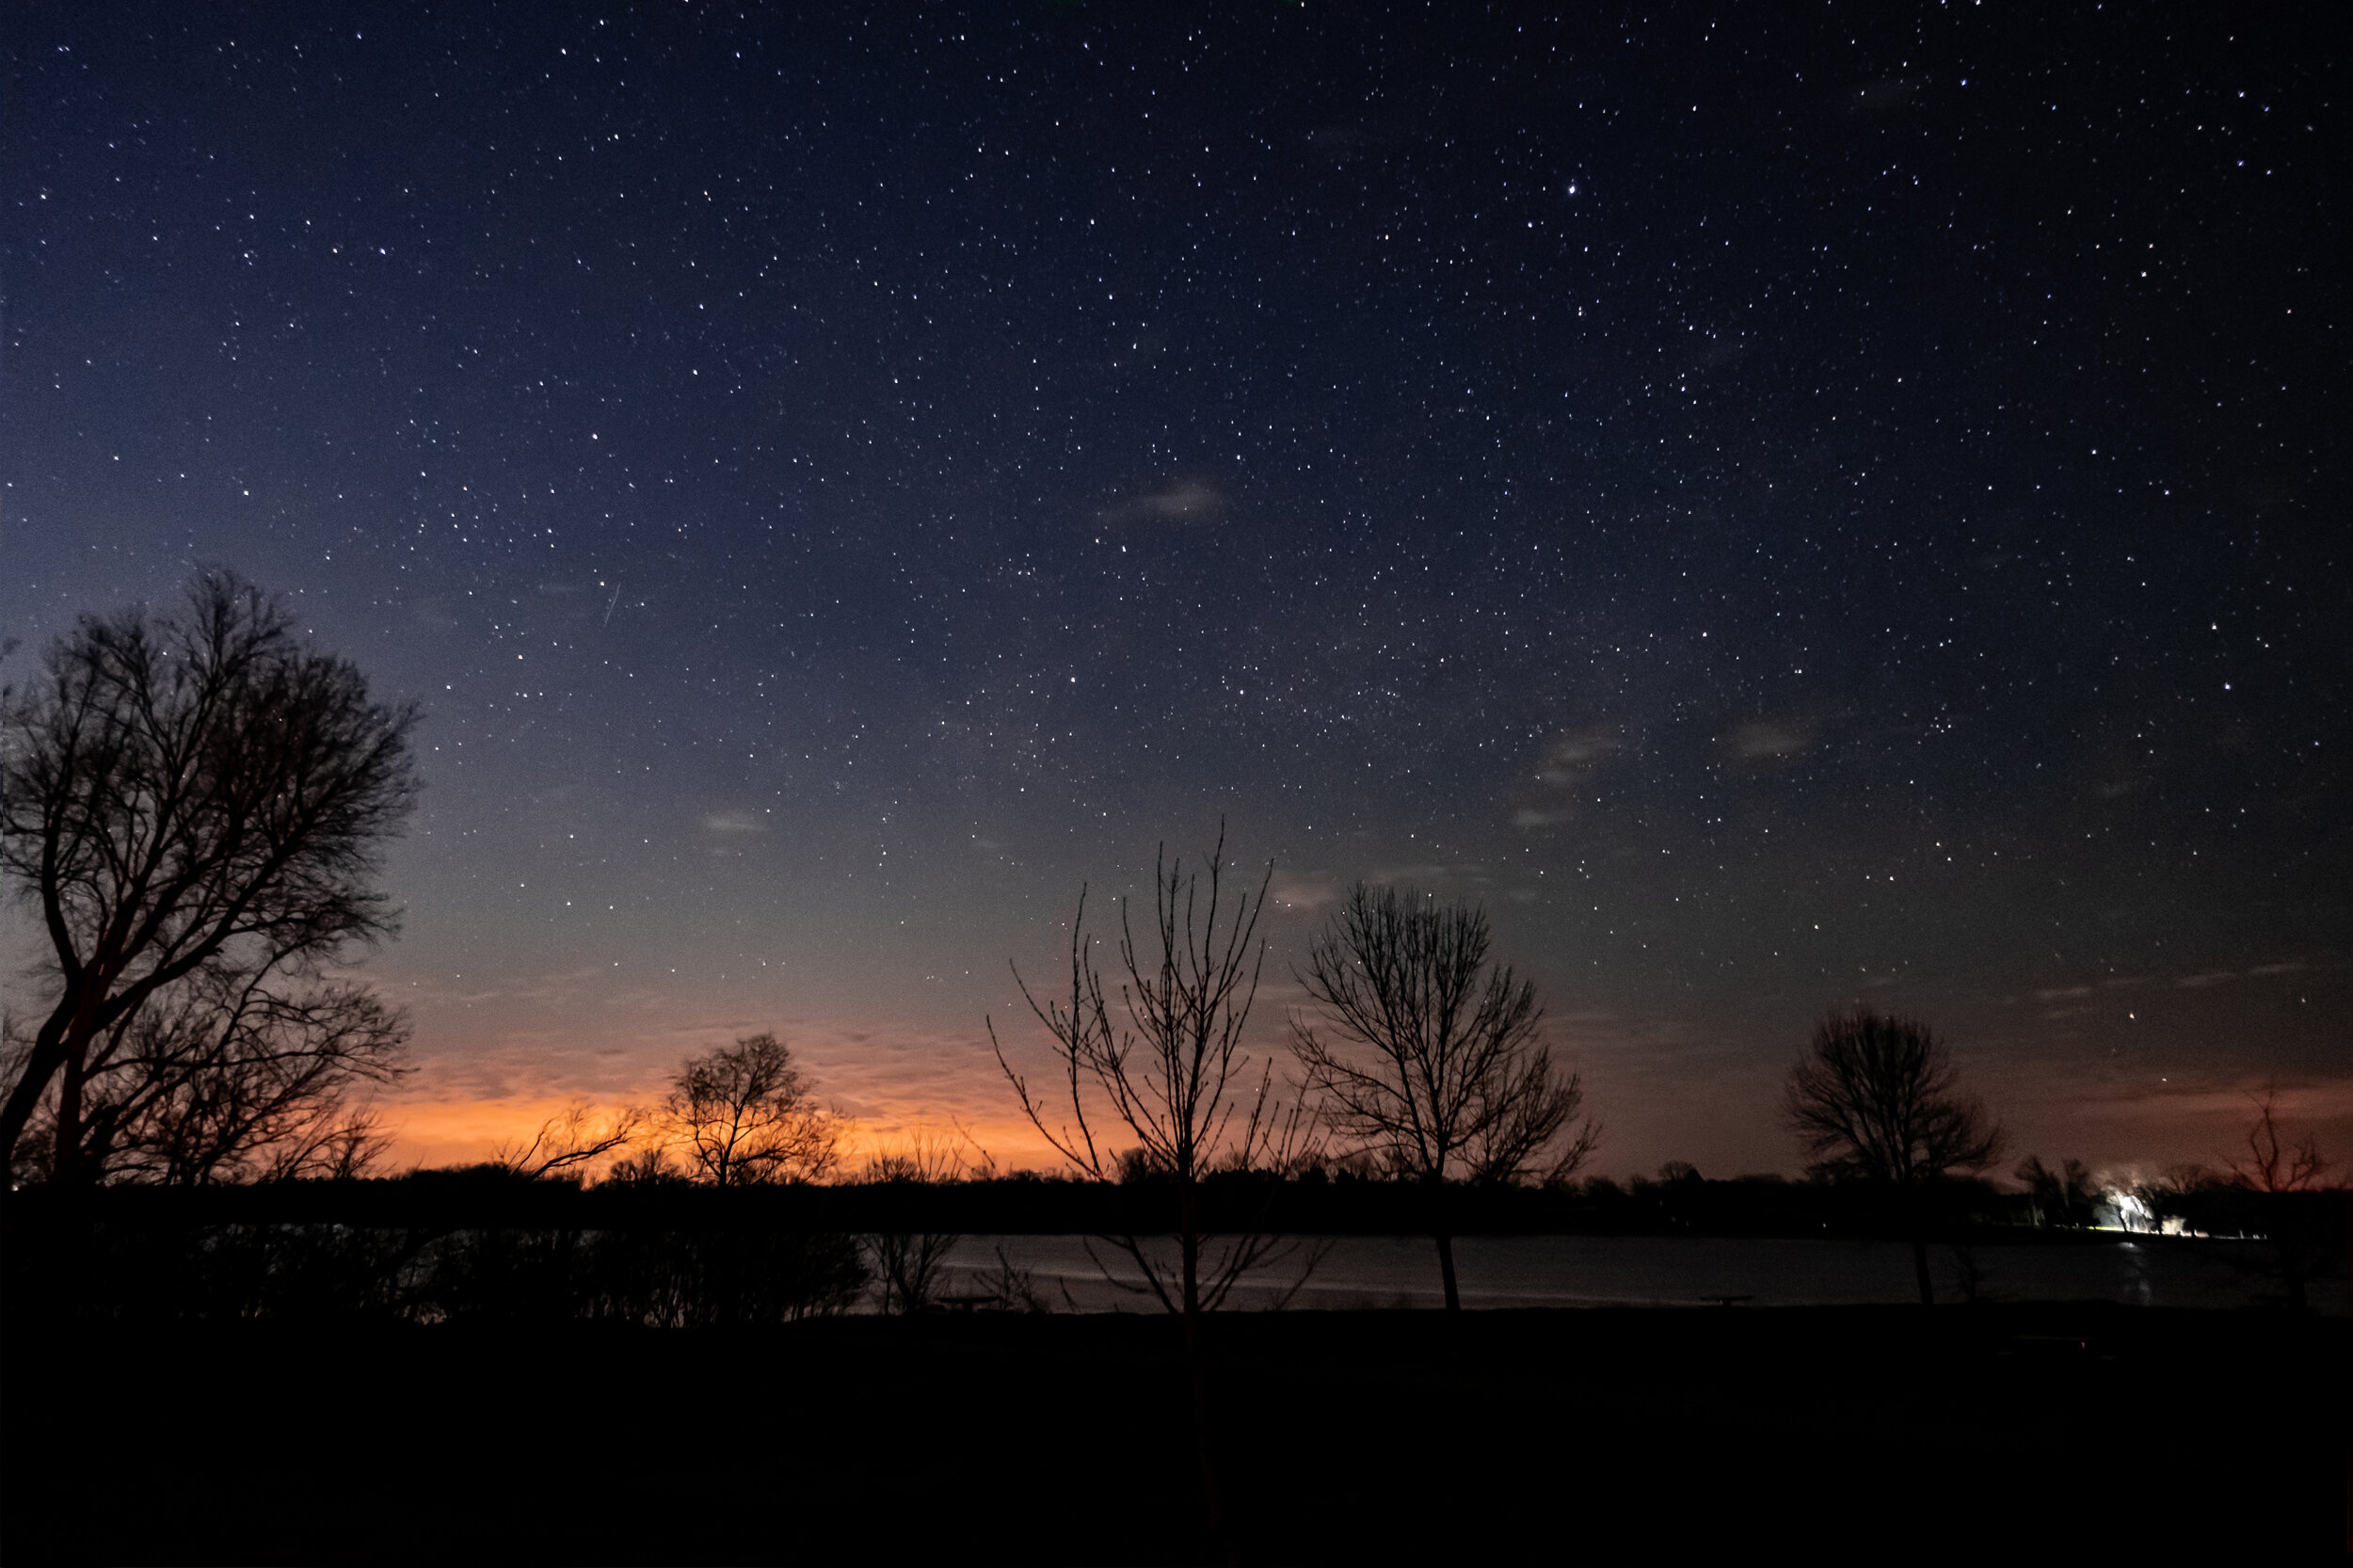
The Lyrids originate to the right of the the star Vega in the Lyra constellation (hence their name) so that’s the rough direction I trained my cameras, but as I watched with my naked eye, they were showing up all over the sky. They were all coming in the direction of Lyra, but they appeared in the entire dome of the sky and as such, in the course of 1,400 photos, I only got 1 usable photo of a meteor. Looking through some time lapses I did catch a few more, but they are hardly noticeable.
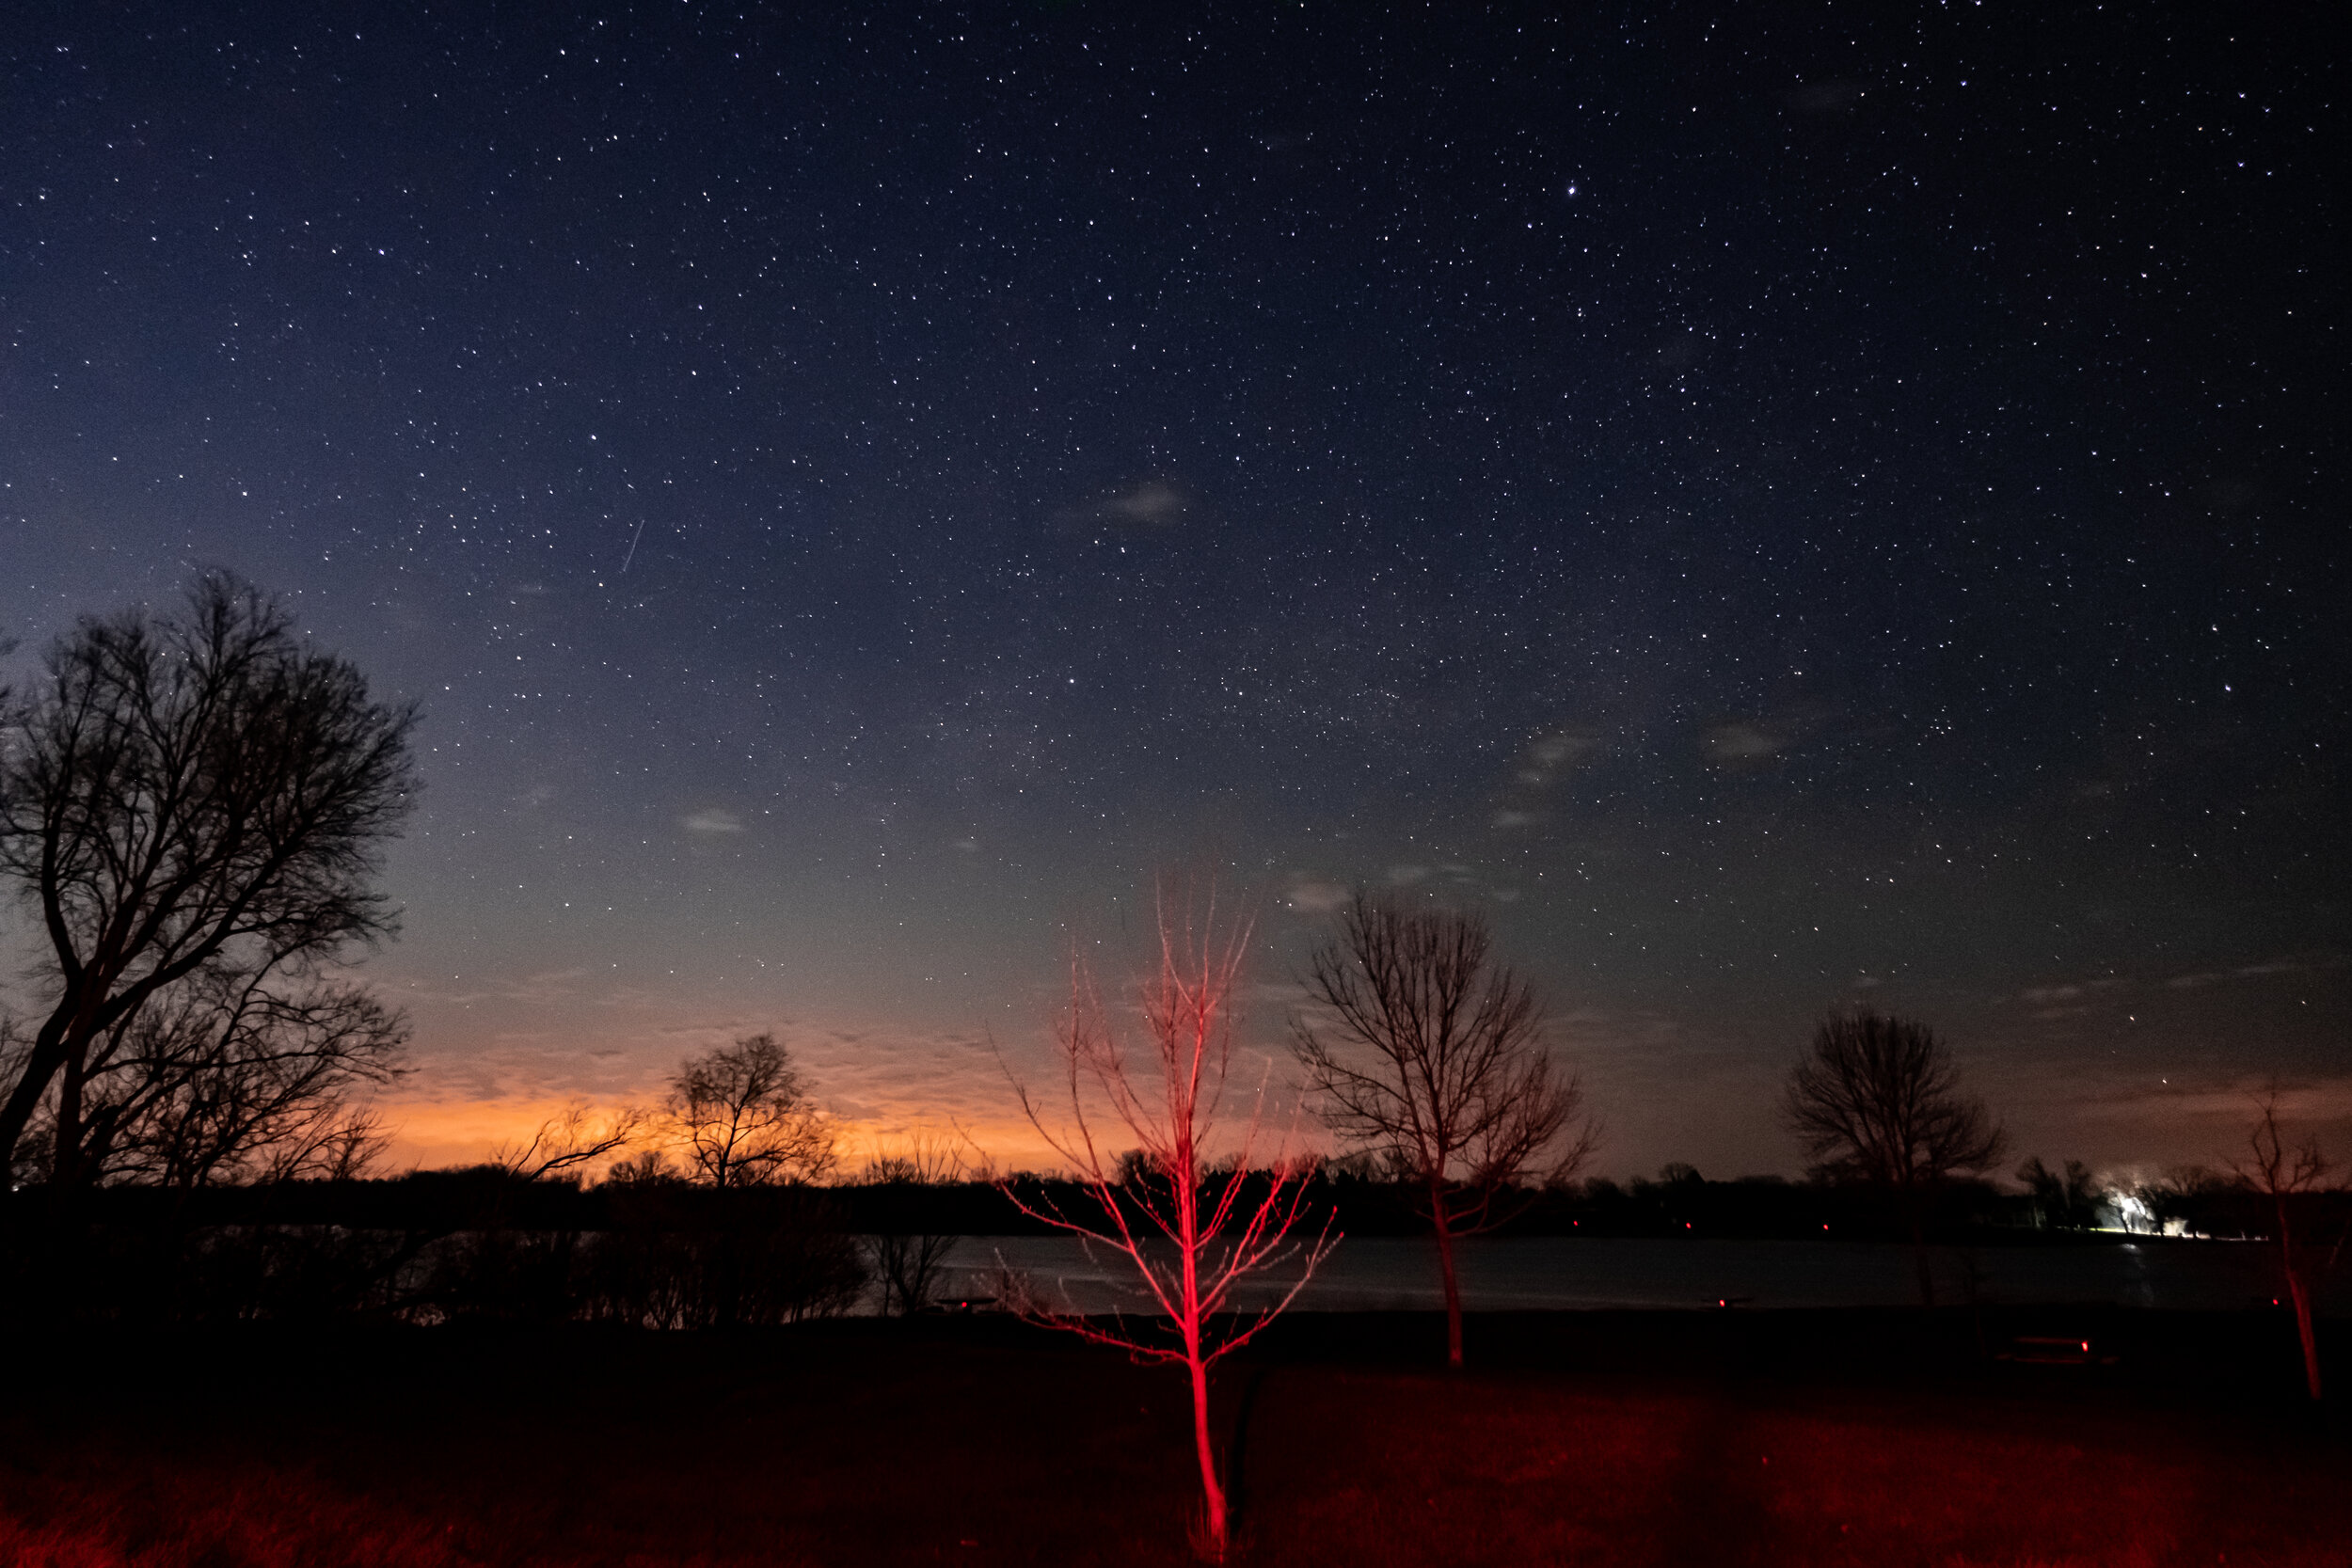
The following photo I actually got on my 2nd picture of the night while I was setting up. I was just testing exposure and settings and it just so happened that a meteor popped directly in front my camera AND I had the settings and focus correct. In a way, it was bad that I captured one so easily at the beginning because it gave me a false sense of confidence that I’d be able to get more by pointing all my cameras in the same direction.
The best, accidental photo I’ve ever taken! (16mm f/2.8 15.0sec ISO 6400)
I attempted to hedge my bets by using several different cameras. The three I ended up using were:
Photo by AstroBackyard. https://astrobackyard.com/sky-watcher-star-adventurer-pro-review/
I’ve been looking at a lot of nighttime motion time lapses lately. Most of the star time lapses I’ve seen use some sort of Star Tracker like the Sky-Watcher Star Adventurer. Something like that is an absolute necessity if you plan to do stationary long exposures without star trails, but they also have the ability to do panning time lapses.
However, I wasn’t in the market to buy a star tracker right now so I wanted to see if my DJI Ronin SC Gimbal could create a motion time lapse of the night sky.
I’ve already used it during the day so I knew what it was capable of as far as motion time lapses. I just needed to work out how to have it take long exposures up to 20 seconds before moving.
I was running into a problem where the gimbal would try to make my Fujifilm X-T3 camera focus before every shot which caused 2 problems. First, it would lose the careful focus I set on the stars and second, it threw off the amount of time that it took to shoot a photo. If I set the gimbal to take a photo for 18 seconds, then move every 20 seconds, it should give 2 seconds of buffer room during which the camera could finish saving and the gimbal could stop stop shacking. But when the gimbal tries to focus before every shot it could take anywhere from 0-3 seconds causing overlap the gimbal moving which results in blurry stars.
So why didn’t I just extend the gimbal interval by 5 more seconds to allow for the focus? Well, over the course of 3 hours, that would work out to 108 less pictures. At 30 pictures per 1 second of realtime video, the resulting time lapse would only be 14 seconds long instead of 18, a 22% shorter video.
Eventually I found the setting to disable the auto focus that solved my problems. I apologize, I can’t remember how I did it. If you need help with the same problem, leave a comment below and I’ll look it up again.
The last thing I had to do was clean up the Fuji/RoninSC motion time lapse. Several other star gazers, myself once, and a park ranger all blasted light at the trees in the foreground of my time lapse several times throughout the night. I could have left the photos as they were, but figured it would look better if I edited the offending pictures by cutting out the trees from the bad image and replacing them with a copy from another one.
I edited about 120 of these photos for around 10 hours and had to delete about 25 photos that were unsalvageable. My edits weren’t perfect, but for a first try, I’m pleased with the results. The next time I try a night time lapse, I will make sure to position the camera much further away from potential cars. In this instance, if I had placed the camera down by the lake instead of in the parking lot, it would have prevented a lot of the problems.
My second camera was my Canon EOS 70D. With it, I just set it up for long, 15-18 second exposures and used my phone to fire off shots from the comfort of my chair and then my car when it got too cold. I ended up shooting about 800 pictures with it, but didn’t get a single meteor in any of them, which makes that lucky shot earlier all the more impressive.
The final camera, my DJI Osmo Pocket, another type of gimbal, albeit much, much smaller, I figured it wouldn’t hurt to at least try another motion time lapse. My initial video looked good on it’s tiny screen, but once I got it on my laptop I saw that it had a hard time with focusing on the stars and kept pulsing as it searched for focus. (See Video) If there were a way to fix the focus to infinity in the camera settings, it would be a nice little star time lapse maker.
I ended up spending about 4 hours at the lake and got home around 4 a.m. I did get lucky, but it serves to reinforce my golden rule about photography and videography:
“When you get home, the only shot you’ll want is the one you didn’t take.”
The moral is, it never hurts to try.